May 8, 2017 / 12:09 AM
Google Compute Engine: Reducing the Size of a Persistent Disk
devops
Context
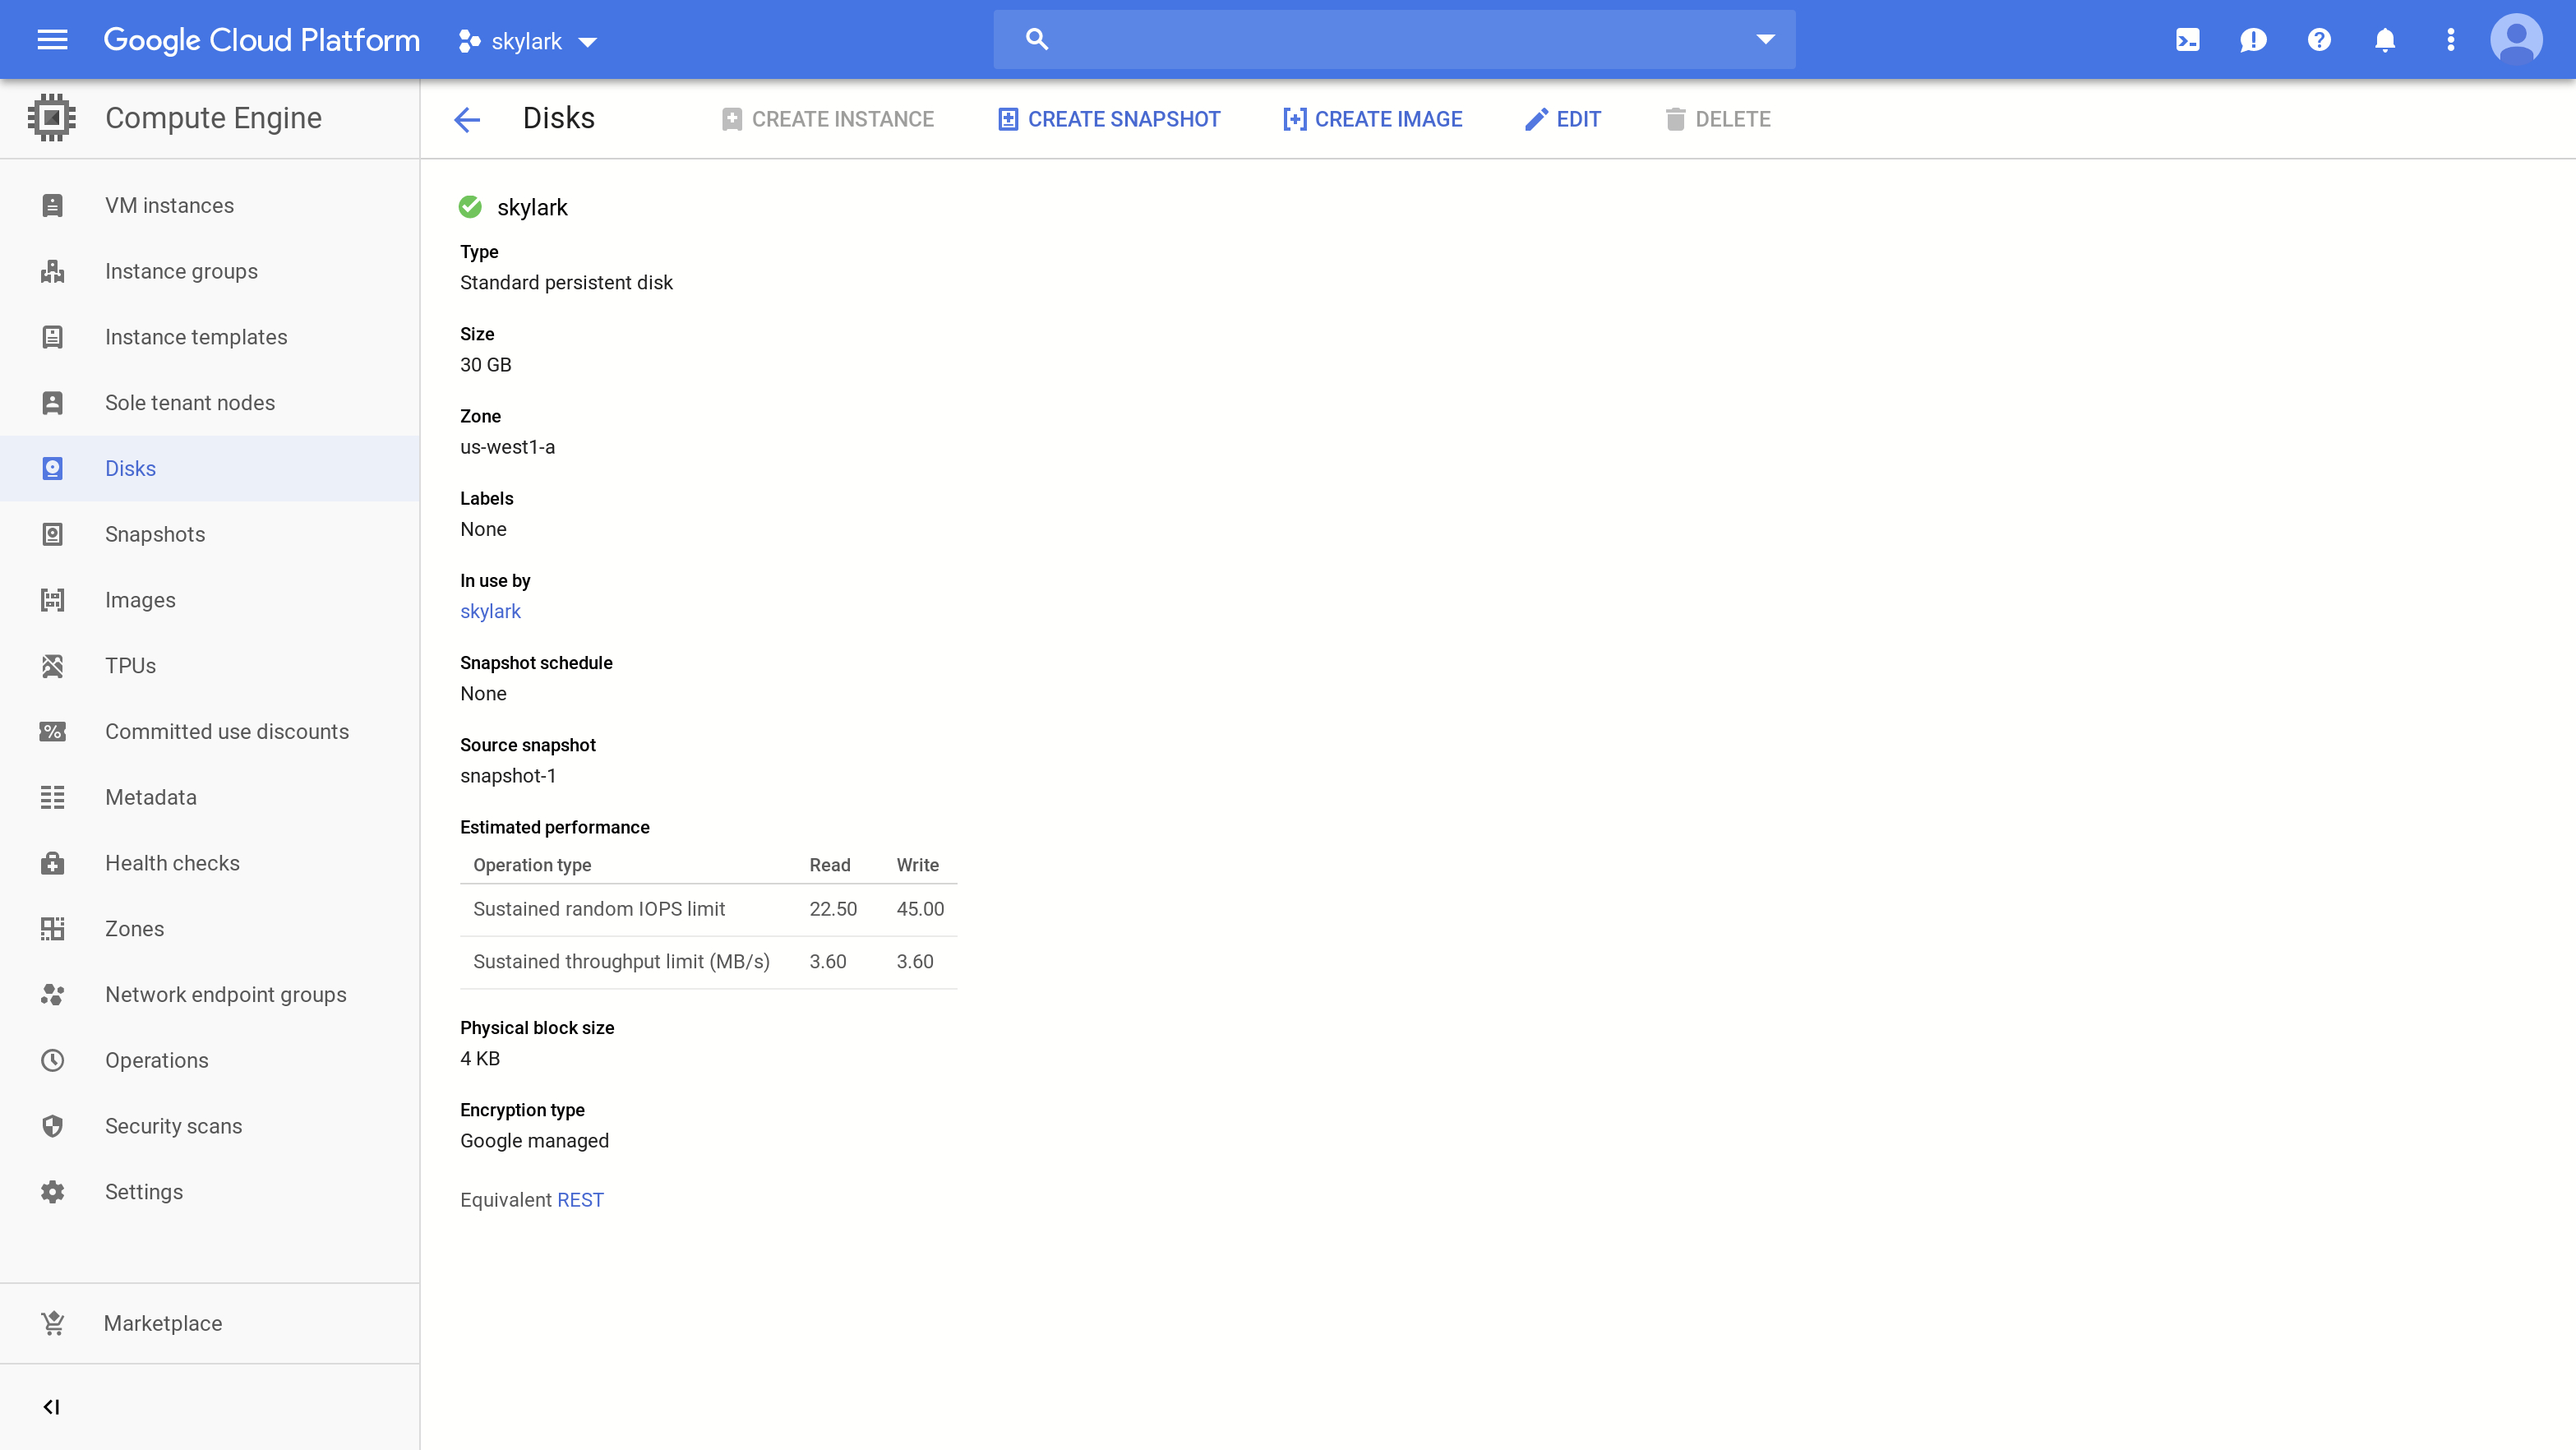
Google Compute Engine allows you to flexibly add capacity to your VM's persistent disk, whether it is an HDD or SSD. GCE allows you to increase disk size arbitrarily through the web interface or command line.
After increasing the size of the virtual storage medium, you cannot go back and "shrink" or "reduce" the disk size.
Only increasing disk size is supported. Disks can be resized regardless of whether they are attached.
An overly-simplified reason for why the size of virtually allocated persistent disk cannot be reduced is that the host machine has no reliable way of knowing where to "cut" the disk. If you extend a 30 GB disk to 35 GB, the host machine allocates an additional 5 GB of unallocated disk space to your virtual disk, updating the filesystem metadata appropriately to reflect the new disk size. When allocating new data blocks for write operations, the file system (theoretically) is free to choose any unallocated data block on the device. Even if only 1 GB of space is actually used on the 35 GB disk, the data blocks comprising the existing files may be "scattered" arbitrarily throughout the entire 35 GB worth of space on the disk.
Let's say you want to shrink the disk back to 5 GB. The host machine has no way of knowing (without an exhaustive examination of the entire hard disk) where there exists a contiguous 5 GB block of unallocated data blocks to return to the host machine, even if you know it exists. Even if such an exhaustive examination were performed and such a contiguous block exists, the potentially fragmented new space is no longer contiguous, and needs to be coalesced. What is the protocol here, even? This destructive operation is incredibly error-prone.
The only reliable way to reduce the size of a persistent disk is to create a new persistent disk of the desired size, and perform a block-by-block copy of the existing disk's data to the new disk.
This is unfortunate because:
- You might not be utilizing the full space of the disk, even before expansion.
- You absentmindedly increased your disk size past the maximum allowed 30 GB Always Free usage limit for storage, and you need to go back to <= 30 GB.
- Your NextCloud instance started uploading several GBs of stale data upstream, filling up your GCE persistent disk and causing your VM's services to throw internal errors due to lack of disk space, thereby causing you to increase your disk size in a panic. (ahem)
Fortunately, a Python open source project weresyncprovides a high-level interface to solving this problem.
Solution
- Before all else, create a snapshotof the existing disk, so that you have a restore point.
- Create a new persistent disk of the desired target size, and add it to the VM as an Additional Disk. Restart the VM.
- In the VM, install weresync via pip:
$ sudo pip3 install weresync- Ensure you know the names of the source and target disks.
$ sudo lsblk
NAME   MAJ:MIN RM   SIZE RO TYPE MOUNTPOINT
sda      8:0    0    35G  0 disk
└─sda1   8:1    0    35G  0 part
sdb      8:16   0    30G  0 disk
We are shrinking 35 GB to 30 GB. In this case, /dev/sda is the source disk and /dev/sdb is the target disk.
- Execute the following:
$ sudo weresync -C --grub-partition 1 /dev/sda /dev/sdbThis command is consistent with the fact that the GRUB partition on /dev/sda is 1. You may need to adjust the values depending on your disk configuration.
For me, during execution, the command reported that it was unable to copy fstab, but everything still worked.
- After the command completes, create a new VM in GCE, specifying the new disk as your boot disk. Ideally, the new VM should boot into the same state as your old VM, and you can delete both the old VM and its disk.
